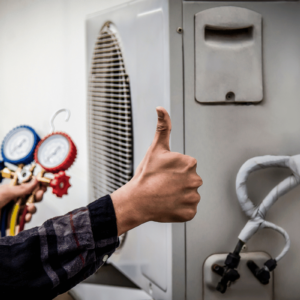
Importance of HVAC maintenance
Regular maintenance of your HVAC (heating, ventilation, and air conditioning) unit is crucial to ensure its optimal performance and longevity. Neglecting maintenance can lead to various issues, including reduced efficiency, poor air quality, and costly repairs. By implementing these essential maintenance tips, you can keep your HVAC unit running smoothly and enjoy comfortable indoor temperatures throughout the year.
Signs that your HVAC unit needs maintenance
It’s important to be aware of the signs indicating that your HVAC unit requires maintenance. These signs include:
- Inaccurate temperature control: If you notice that your HVAC system is struggling to maintain the desired temperature, it may be due to a malfunctioning thermostat or other issues that require professional attention.
- Weak airflow: If the airflow from your vents feels weak or uneven, it could indicate a clogged air filter or problems with the ductwork. Regular maintenance can address these issues and restore proper airflow.
- Strange odors or noises: Unpleasant odors or unusual sounds coming from your HVAC unit can indicate problems with the system. These issues should be investigated by a professional technician to prevent further damage.
- Increased energy bills: If you notice a sudden spike in your energy bills without any significant changes in your usage patterns, it could be a sign that your HVAC unit is not operating efficiently. Regular maintenance can help identify and resolve any underlying issues to improve energy efficiency.
8 Essential Maintenance Tips
Checking and Changing Air Filter
The air filter in your HVAC unit plays a crucial role in maintaining air quality and system efficiency. Over time, the air filter can become clogged with dust, dirt, and other contaminants, hindering airflow and reducing efficiency. Here’s how you can check and change your air filter:
- Locate the air filter: The air filter is typically found near the air handler or furnace. Refer to your HVAC unit’s manual to find the exact location if you’re unsure.
- Frequency of filter changes: It is generally recommended to change or clean the air filter every 1-3 months, depending on factors such as the type of filter and the level of pollutants in your environment.
- Changing the air filter: To change the air filter, follow these steps:
- Turn off the HVAC unit.
- Remove the filter cover or access panel.
- Take out the old filter and dispose of it properly.
- Insert the new filter, making sure it fits snugly.
- Replace the filter cover or access panel.
- Turn on the HVAC unit.
- Selecting the right filter: When choosing a new air filter, consider factors such as the filter’s MERV (Minimum Efficiency Reporting Value) rating, which indicates its efficiency in removing particles from the air. Consult your HVAC unit’s manual or seek professional advice to select the appropriate type and size of filter for your specific unit.
Cleaning AC Condenser Coils
AC coils, including the condenser coils and evaporator coils, play a vital role in the cooling process. Over time, these coils can accumulate dirt and debris, reducing their ability to transfer heat efficiently. The condenser coils are located in the outdoor unit, while the evaporator coils are housed in the indoor unit. Familiarize yourself with the location of these coils by referring to your HVAC unit’s manual. Here’s how you can clean your AC coils:
Follow these steps:
-
- Turn off the power to the HVAC unit.
- Remove any debris or vegetation around the outdoor unit.
- Gently clean the condenser coils using a coil cleaner or a solution of mild detergent and water. Be careful not to bend the fragile fins.
- Access the evaporator coils and clean them using a soft brush and mild detergent.
- Rinse the coils with water and allow them to dry completely.
- Once dry, restore power to the HVAC unit.
Safety precautions
Always ensure that the power to the unit is turned off to avoid any electrical hazards. If you’re unsure or uncomfortable performing this task, it’s best to seek professional assistance.
Checking and Cleaning Condensate Drain
The condensate drain is responsible for removing excess moisture produced during the cooling process. Over time, this drain can become clogged with algae, mold, or debris, leading to water damage and potential system malfunctions. Follow these steps to check and clean your condensate drain:
- Locating the condensate drain: The condensate drain is typically found near the indoor unit or in the attic. Refer to your HVAC unit’s manual to find its exact location.
- Inspecting the drain: Check the condensate drain for any signs of clogs or buildup. If you notice water pooling around the drain or detect a musty odor, it may indicate a clog.
- Cleaning the drain: To clean the condensate drain, you can use a vacuum to remove any debris or use a bleach solution to eliminate microbial growth. Be cautious when using bleach and follow the manufacturer’s instructions.
- Preventing future clogs: To prevent future clogs, consider installing a condensate drain pan treatment. This treatment helps inhibit microbial growth and keeps the drain clear.
By regularly checking and cleaning your condensate drain, you can prevent water damage and ensure the proper functioning of your HVAC unit.
Inspecting Thermostat Settings
The thermostat is the control center of your HVAC unit, allowing you to set and adjust the temperature according to your comfort needs. Properly set thermostat settings are essential for energy efficiency. Here’s how you can inspect and adjust your thermostat settings:
- Accessing the thermostat: Depending on the type of thermostat you have, you may need to remove a cover or open a panel to access the settings. Consult your thermostat’s manual for specific instructions.
- Checking the settings: Verify that the temperature settings are accurate and match your desired comfort level. Ensure that the thermostat is set to the appropriate mode (cooling or heating) based on the season.
- Adjusting the settings: Follow these steps to adjust the thermostat settings:
- If your thermostat is not programmable, manually set the desired temperature.
- If your thermostat is programmable, program it according to your daily and weekly schedules for optimal energy savings. Refer to the manual for detailed instructions on programming.
Properly set thermostat settings help optimize energy usage and maintain a comfortable indoor environment. Consider upgrading to a programmable thermostat for even greater control and energy savings.
Inspecting and Tightening Electrical Connections
Inspecting the electrical connections in your HVAC unit is crucial for both safety and efficiency. Loose or damaged electrical connections can lead to system malfunctions, increased energy consumption, or even electrical hazards. Follow these steps to inspect and tighten electrical connections:
- Locating the electrical connections: The electrical connections are typically found in the control panel or near the HVAC unit’s motor. Consult your HVAC unit’s manual to locate these connections.
- Inspecting the connections: Carefully examine the electrical connections for any signs of looseness, corrosion, or damage. Look for frayed wires, loose terminals, or signs of overheating.
- Safely tightening loose connections: If you notice any loose connections, you can tighten them using a screwdriver or an appropriate wrench. However, exercise caution and ensure that the power to the unit is turned off before performing any electrical work.
- Warning signs of damaged connections: If you encounter damaged or corroded electrical connections during your inspection, it’s crucial to seek professional assistance. Damaged electrical components should not be handled by untrained individuals.
Regularly inspecting and tightening electrical connections can enhance the safety and efficiency of your HVAC unit. If you’re unsure or uncomfortable performing this task, it’s best to rely on professional HVAC technicians.
Inspecting Refrigerant Levels
Refrigerant is a vital component of your HVAC unit, responsible for absorbing and dissipating heat during the cooling process. Proper refrigerant levels are crucial for efficient cooling. However, checking and replenishing refrigerant levels typically requires professional expertise due to the specialized equipment involved. Here are some signs that may indicate low refrigerant levels or potential leaks:
- Reduced cooling capacity: If your HVAC unit is struggling to cool your space adequately or takes longer to reach the desired temperature, it may be a sign of low refrigerant levels.
- Ice formation or frost on the coils: Inspect the evaporator coils for any ice formation or frost buildup. This could indicate low refrigerant levels or other issues that require professional attention.
- Hissing or bubbling sounds: Unusual sounds, such as hissing or bubbling, coming from your HVAC unit could indicate a refrigerant leak. These leaks should be addressed promptly to prevent further damage.
If you notice any of these signs, it’s essential to schedule professional maintenance to check and replenish refrigerant levels. HVAC technicians have the expertise and equipment necessary to handle refrigerants safely and accurately.
Inspecting and Cleaning Evaporator Coil
The evaporator coil is responsible for absorbing heat from the air, allowing your HVAC unit to cool your indoor space effectively. Over time, the evaporator coil can accumulate dust and dirt, hindering its ability to absorb heat efficiently. Regular cleaning of the evaporator coil is vital for optimal cooling performance. Here’s how you can inspect and clean the evaporator coil:
- Accessing the evaporator coil: The evaporator coil is typically located in the indoor unit, above or near the air handler. Consult your HVAC unit’s manual to find the exact location.
- Inspecting the coil: Carefully examine the evaporator coil for any signs of dirt, dust, or debris. Pay attention to the condition of the coil’s fins, ensuring they are not bent or damaged.
- Cleaning the coil: To clean the evaporator coil, follow these steps:
- Turn off the power to the HVAC unit.
- Gently brush the coil’s surface using a soft brush to remove loose dirt and debris.
- Mix a mild detergent with warm water and apply it to the coil using a spray bottle.
- Allow the detergent to sit for a few minutes to loosen any stubborn dirt.
- Rinse the coil with clean water, ensuring all detergent residue is removed.
- Once dry, restore power to the HVAC unit.
Take appropriate safety precautions when cleaning the evaporator coil, such as turning off the power to the unit and exercising caution to avoid damaging the delicate fins.
Checking and Lubricating Moving Parts
Your HVAC unit contains various moving parts, such as fan motors and bearings, that require regular lubrication to reduce friction and prevent excessive wear. Here’s how you can inspect and lubricate these moving parts:
- Locating the moving parts: The moving parts are typically found in the outdoor unit. Consult your HVAC unit’s manual to locate these parts.
- Inspecting the parts: Carefully examine the moving parts for any signs of wear, such as excessive noise, vibration, or visible damage. Lubrication may be necessary if you notice any of these signs.
- Lubricating the parts: Follow these steps to lubricate the moving parts:
- Turn off the power to the HVAC unit.
- Locate the lubrication points on the moving parts. Consult your HVAC unit’s manual for specific instructions.
- Apply the manufacturer-recommended lubricant to the designated points, ensuring you do not over-apply.
- Rotate the moving parts manually to distribute the lubricant evenly.
- Once lubricated, restore power to the HVAC unit.
While lubricating the moving parts is a maintenance task that can be performed by homeowners, it’s important to note that some components may require professional attention due to their complexity. If you’re unsure or uncomfortable performing this task, it’s best to consult a professional HVAC technician.
Benefits of regular HVAC maintenance
Regular maintenance of your HVAC unit offers numerous benefits, including:
- Improved energy efficiency: Properly maintained HVAC units operate more efficiently, reducing energy consumption and lowering utility bills.
- Extended lifespan: Regular maintenance helps identify and address potential issues before they escalate, prolonging the lifespan of your HVAC unit.
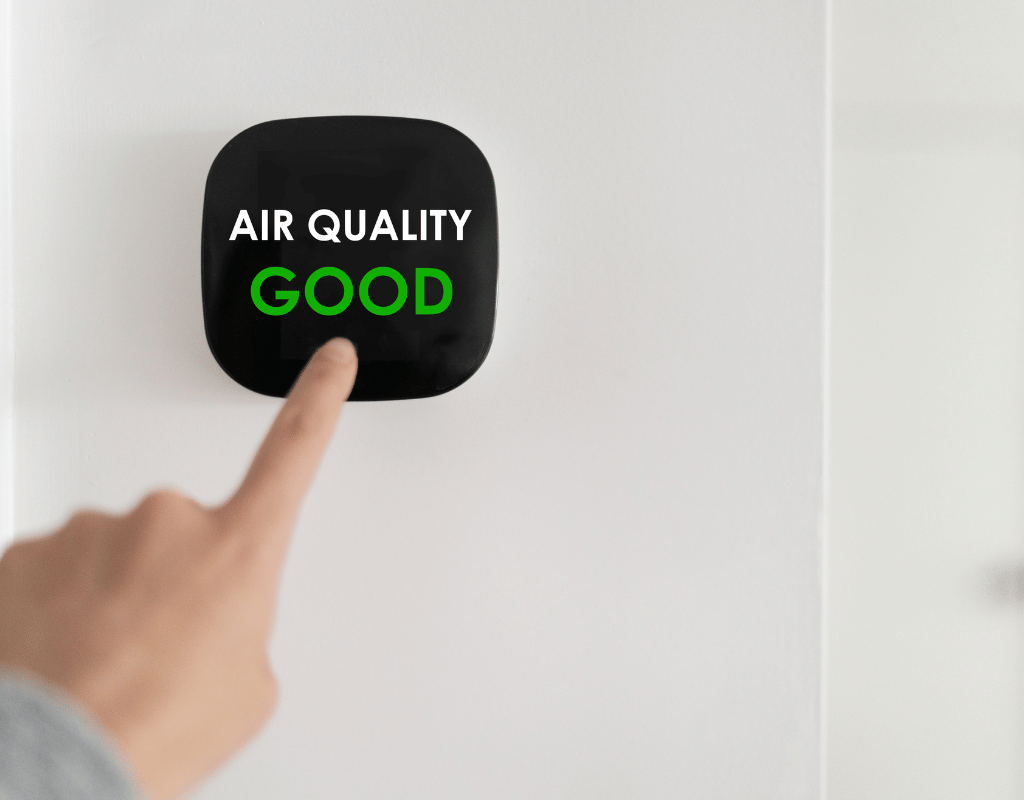
- Enhanced indoor air quality: Clean air filters and coils contribute to cleaner indoor air, reducing the presence of allergens, dust, and other contaminants.
- Consistent comfort: Well-maintained HVAC units provide consistent and reliable cooling and heating, ensuring comfort throughout the year.
- Reduced likelihood of breakdowns: Regular maintenance helps prevent unexpected breakdowns, saving you the inconvenience and cost of emergency repairs.
By investing in regular HVAC maintenance, you can enjoy these benefits and ensure your HVAC unit operates at its best.
Common HVAC maintenance mistakes to avoid
While regular maintenance is crucial, it’s important to avoid common mistakes that can potentially cause more harm than good. Here are some mistakes to avoid:
- Neglecting maintenance altogether: Failing to perform regular maintenance tasks can lead to reduced efficiency, poor indoor air quality, and costly repairs. Make sure to prioritize HVAC maintenance to avoid these issues.
- Incorrectly changing the air filter: When changing the air filter, ensure that you select the appropriate type and size for your HVAC unit. Installing an incompatible or incorrectly sized filter can hinder airflow and damage the system.
- Using the wrong cleaning products: When cleaning coils or other components, always use manufacturer-recommended cleaning products. Avoid using harsh chemicals or abrasive materials that could damage the equipment.
- Mishandling electrical components: If you’re inspecting or tightening electrical connections, always turn off the power to the HVAC unit beforehand. Mishandling electrical components can result in electrical hazards or damage to the system.
- Attempting complex repairs without professional assistance: While some maintenance tasks can be performed by homeowners, complex repairs or tasks involving refrigerant should be left to professional HVAC technicians. Attempting these tasks without proper expertise can lead to further damage or safety risks.
By avoiding these common mistakes, you can ensure that your HVAC maintenance efforts are effective and promote the longevity of your system.
Energy-saving tips for your HVAC unit
In addition to regular maintenance, implementing energy-saving practices can help optimize the efficiency of your HVAC unit. Consider the following tips:
- Set temperature thresholds: Adjusting your thermostat by a few degrees can significantly impact energy consumption. Set your thermostat to higher temperatures in the summer and lower temperatures in the winter to conserve energy.
- Utilize programmable thermostats: Programmable thermostats allow you to schedule temperature adjustments based on your daily and weekly routines. This ensures that your HVAC unit operates more efficiently.
- Utilize ceiling fans or portable fans to supplement your HVAC system’s cooling or heating efforts. Fans help circulate air and distribute conditioned air more evenly throughout your home, allowing you to set your thermostat a few degrees higher in summer and lower in winter.
- Inspect windows, doors, and other openings for air leaks, and seal them with weather stripping or caulk to prevent warm or cool air from escaping. This can reduce the workload on your HVAC unit and improve energy efficiency.
Key Takeaways
- Regular HVAC maintenance is essential to ensure optimal performance, energy efficiency, and longevity of your heating and cooling system.
- Be proactive in identifying signs that your HVAC unit may need maintenance, such as inaccurate temperature control, weak airflow, strange odors or noises, and increased energy bills.
- Implement the 8 essential maintenance tips, including checking/changing air filters, cleaning AC coils, inspecting/cleaning condensate drain, inspecting thermostat settings, inspecting/tightening electrical connections, checking refrigerant levels, inspecting/cleaning evaporator coil, and checking/lubricating moving parts.
- Benefits of regular HVAC maintenance include improved energy efficiency, extended lifespan, enhanced indoor air quality, consistent comfort, and reduced likelihood of breakdowns.
- Avoid common HVAC maintenance mistakes such as neglecting maintenance, incorrectly changing air filters, using wrong cleaning products, mishandling electrical components, and attempting complex repairs without professional assistance.
- Implement energy-saving tips for your HVAC unit, including using a programmable thermostat, sealing air leaks, ensuring proper insulation, using fans wisely, shading your home, and keeping vents clear.
- Consider hiring a professional HVAC maintenance company for expertise, advanced equipment, comprehensive services, safety assurance, and warranty protection.
By following these guidelines and tips, you can ensure that your HVAC system operates efficiently, effectively, and reliably, providing comfort and peace of mind for you and your family.
FAQs
- What is the purpose of cleaning AC coils?
- Cleaning AC coils, including condenser coils and evaporator coils, helps maintain optimal heat transfer efficiency, ensuring your HVAC system operates at peak performance. Dirty coils can reduce efficiency and lead to increased energy consumption.
- How can I tell if my condensate drain is clogged?
- Signs of a clogged condensate drain include water pooling around the drain, musty odors emanating from the indoor unit, or reduced cooling performance. Regular inspection and cleaning of the condensate drain can prevent clogs and potential water damage.
- Why is it important to inspect thermostat settings?
- Properly set thermostat settings are essential for maintaining a comfortable indoor environment and maximizing energy efficiency. Inspecting thermostat settings ensures accurate temperature control and optimal performance of your HVAC system.